Xerox AltaLink C8045
The Xerox AltaLink C8045 is a fleet printer managed independently from RHPCS.
IMPORTANT: You can print from this printer directly via the web browser interface. From on-campus or while connected to the McMaster VPN, please point your browser to: phys-copier.physics.mcmaster.ca and click on the Print tab. You'll also need to fill in the Accounting section.
Note: Some browsers will give a warning about "Your connection is not private". If you see this, please use the IP address directly in the address bar: 130.113.172.49
Setup instructions can be found below for the following operating systems:
Windows 10 instructions
- Navigate to the printer's self-hosted webpage at phys-copier.physics.mcmaster.ca. If you are trying to connect from off-campus, you'll need to first connect to the VPN.
- Note: Some browsers may give a warning about "Your connection is not private". If you see this, please use the IP address directly in the address bar: 130.113.172.49
- Click the Print tab, and then click on the Install Print/Scan Drivers link. Please be advised that the installer may have been updated since taking the screenshots, so your procedure may differ slightly from what is described here.
- Once you've downloaded the drivers, double-click the downloaded file. You should see a blank window that looks like the screenshot below:
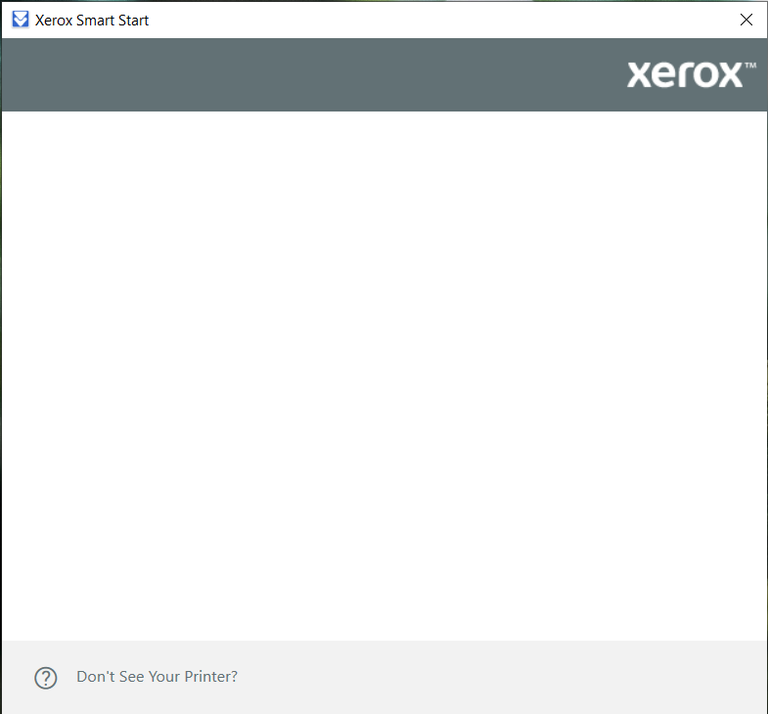
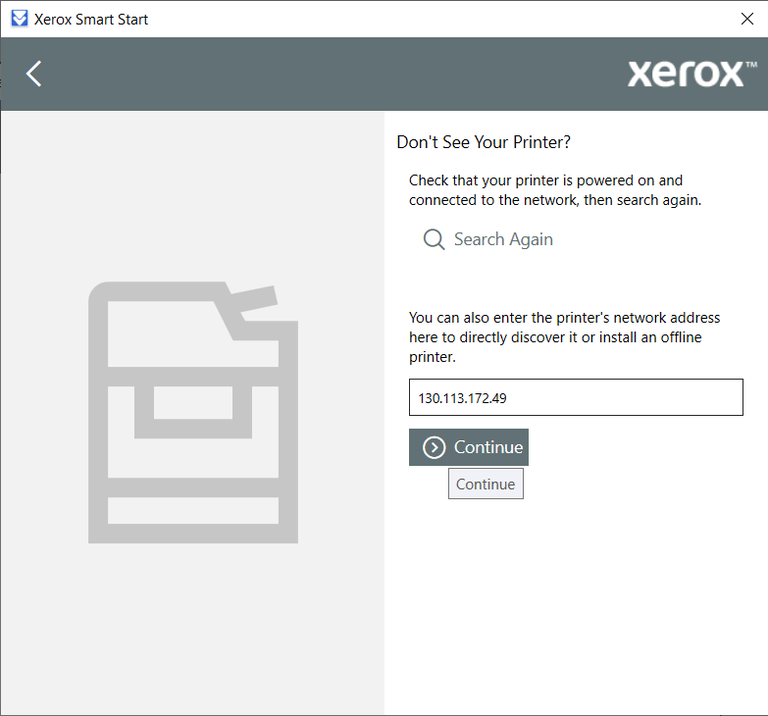
Click the Don't See Your Printer? link the bottom-left corner. - In the next screen, enter in the printer's IP address as shown, then click Continue.
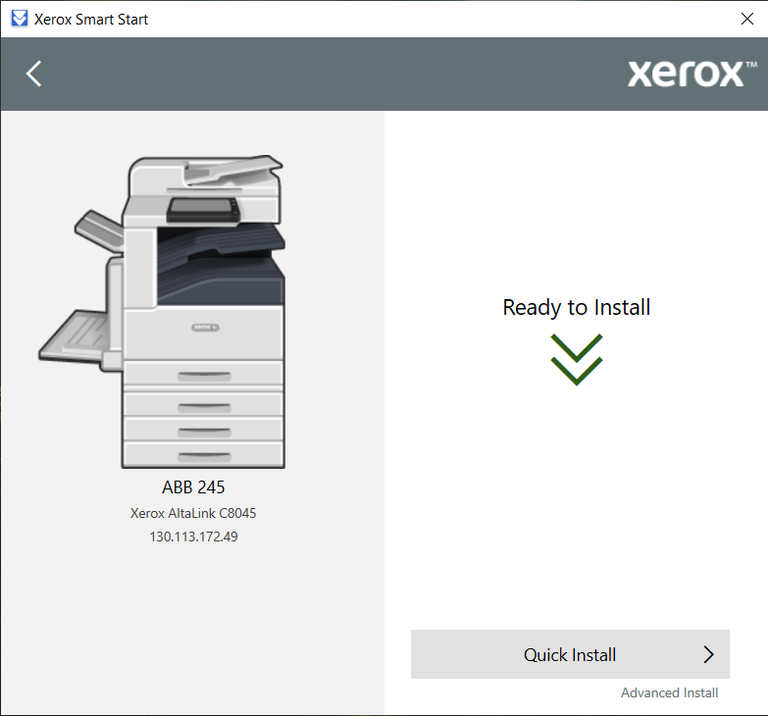
- The installer should be ready to install your printer drivers now. Click the Quick Install button to continue.
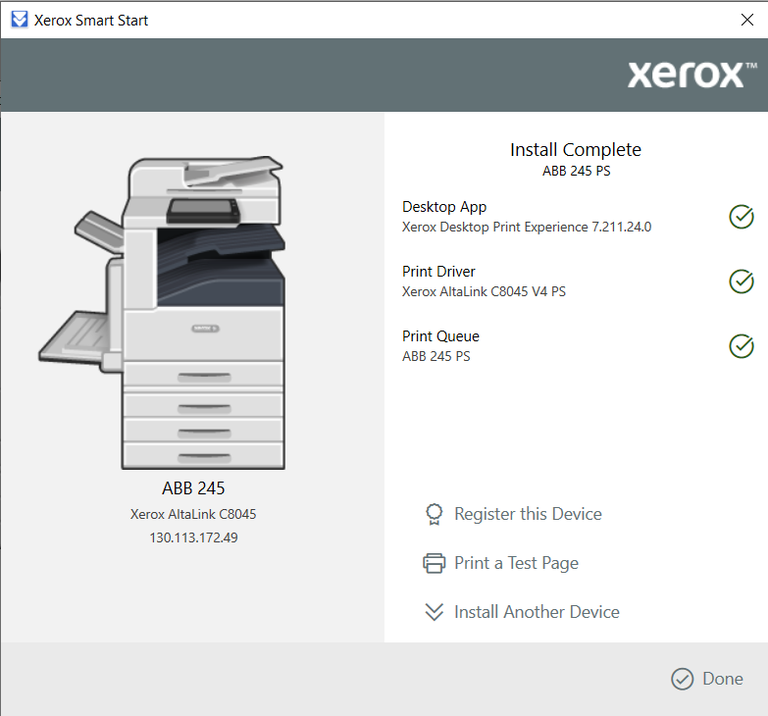
- When you see the screen below, you can then click Done to finish.
- When you want to print anything, the printer will ask you for credentials for billing purposes.
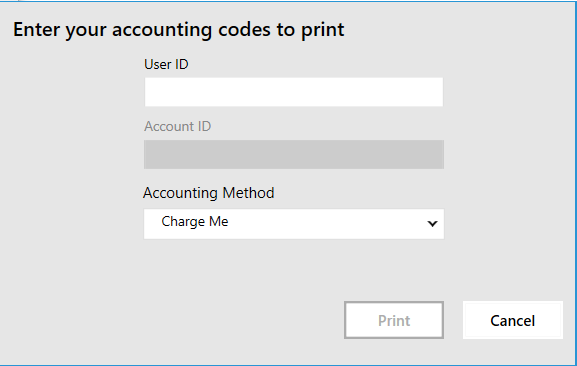
Enter your User ID (not your MacID or email address, but the accounting number given to you by the main office), keep the default Accounting Method, and leave the Account ID blank.
If you do not know your User ID, please contact the Physics & Astronomy department office.
MacOS instructions
- Navigate to the printer's self-hosted webpage at phys-copier.physics.mcmaster.ca. If you are trying to connect from off-campus, you'll need to first connect to the VPN.
- Note: Some browsers may give a warning about "Your connection is not private". If you see this, please use the IP address directly in the address bar: 130.113.172.49
- Click the Print tab, and then click on the Install Print/Scan Drivers link. Please be advised that the installer may have been updated since taking the screenshots, so your procedure may differ slightly from what is described here. Make sure to choose your operating system in the platform drop-down, and then click on Apply Filters.
- Once you've downloaded the drivers, double-click the downloaded file. You should see a window that looks like the screenshot below:
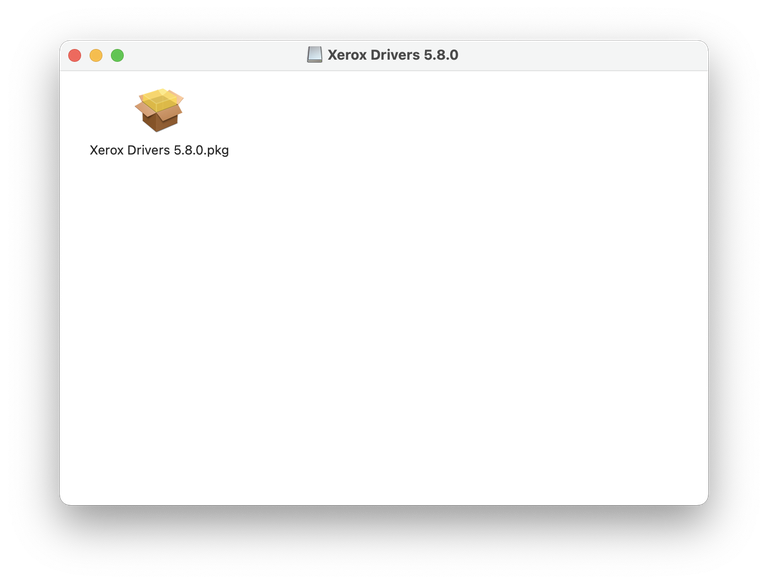
- Double-click on the .pkg file. You'll see a pop-up like in the screenshot below:
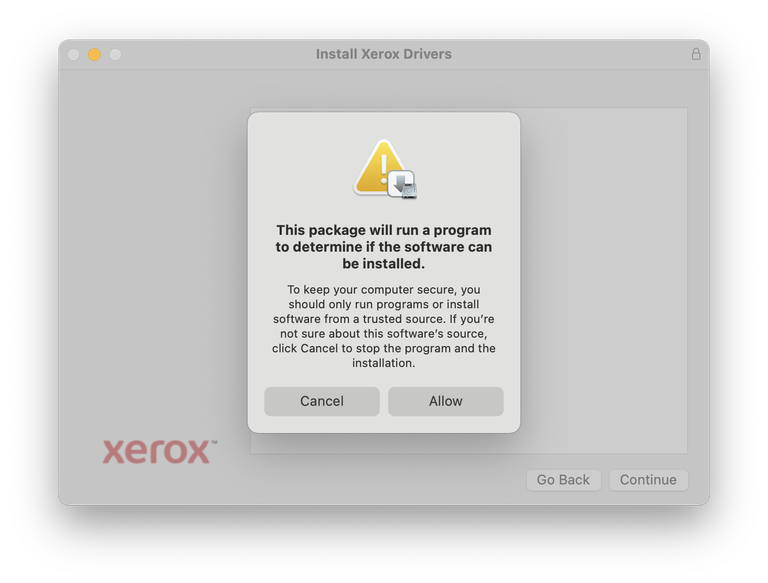
Click Allow to continue. - Continue through the installation process.
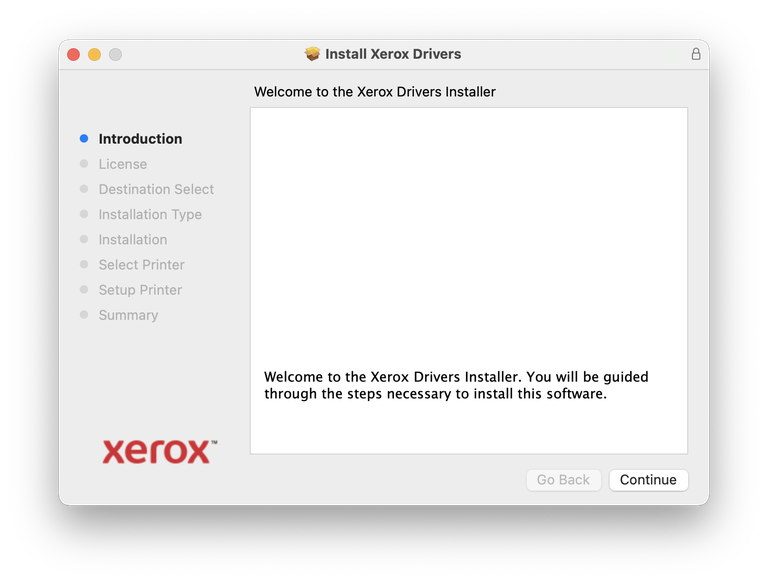
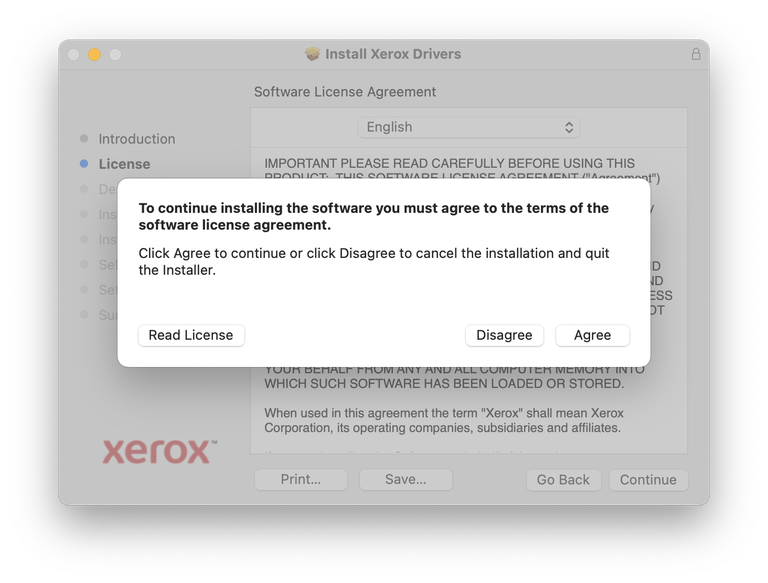
- At the end of the installation, the installer will try to discover the printer.
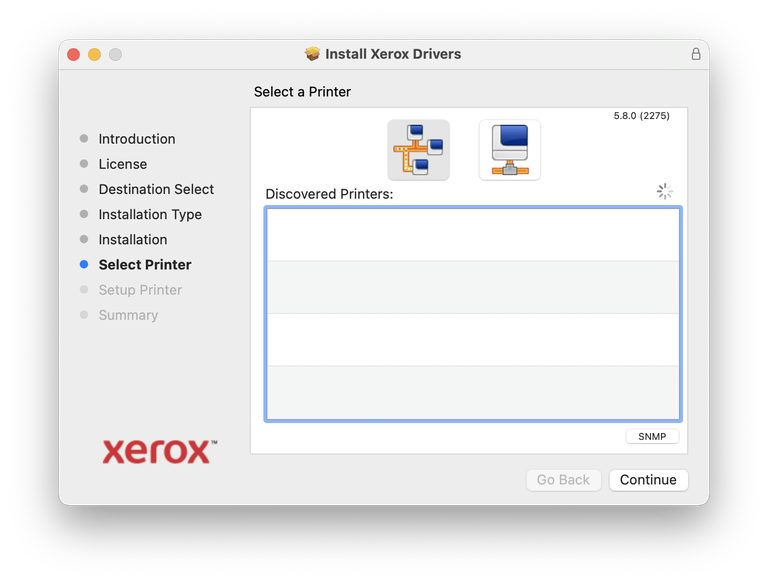
You should cancel this and click on the icon to the right, and enter the IP address of the Xerox printer, as shown in the following screenshot.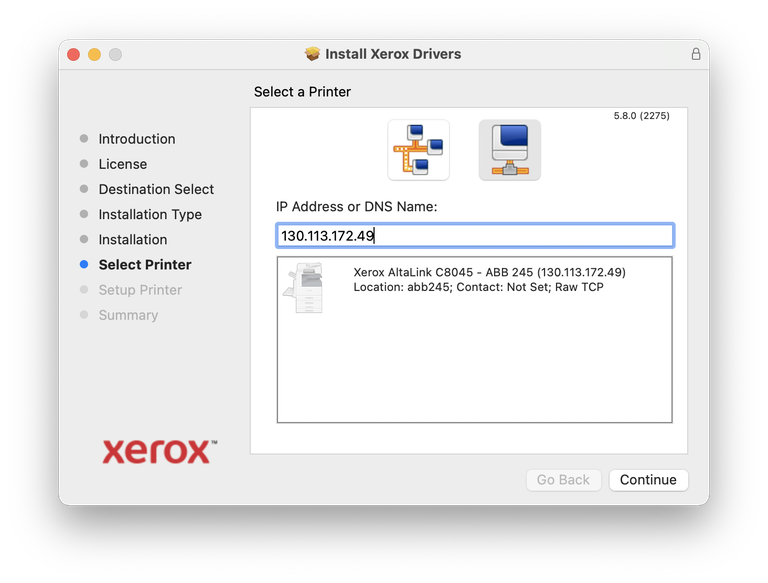
Click Continue to proceed. - When setup successfully completes, you will see a screen like the following screenshot:
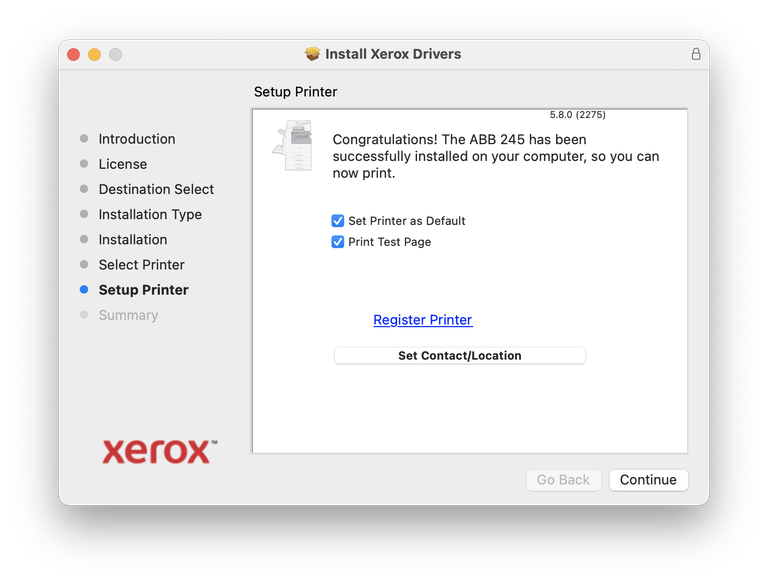
You can allow it to perform the ticked actions, or you can untick them. Click Continue to finish the setup. - When you wish to print anything, the printer will ask you to provide credentials for billing purposes.
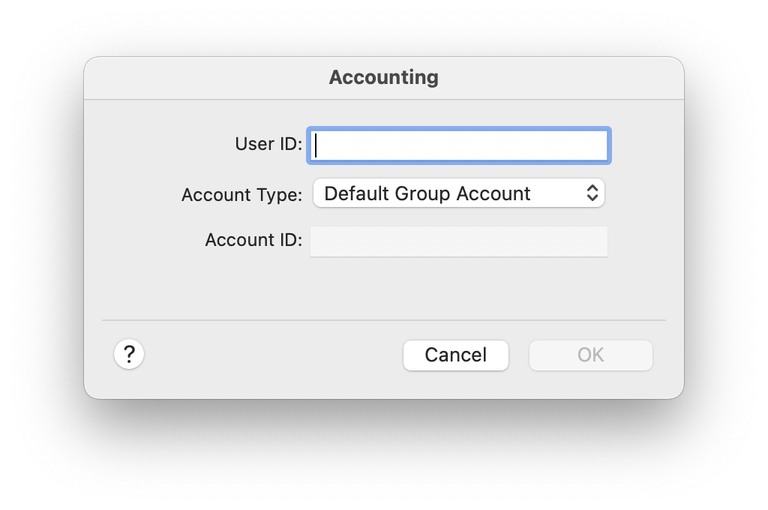
Enter your User ID (not your MacID or email address, but the accounting number given to you by the main office), keep the default Account Type, and leave the Account ID blank.
If you do not know your User ID, please contact the Physics & Astronomy department office.
If the printer does NOT prompt you for accounting information, you'll need to dig into the program-specific menus to configure this. For example, in Adobe Acrobat Reader, you'll need to do the following:
Go to the Print dialog
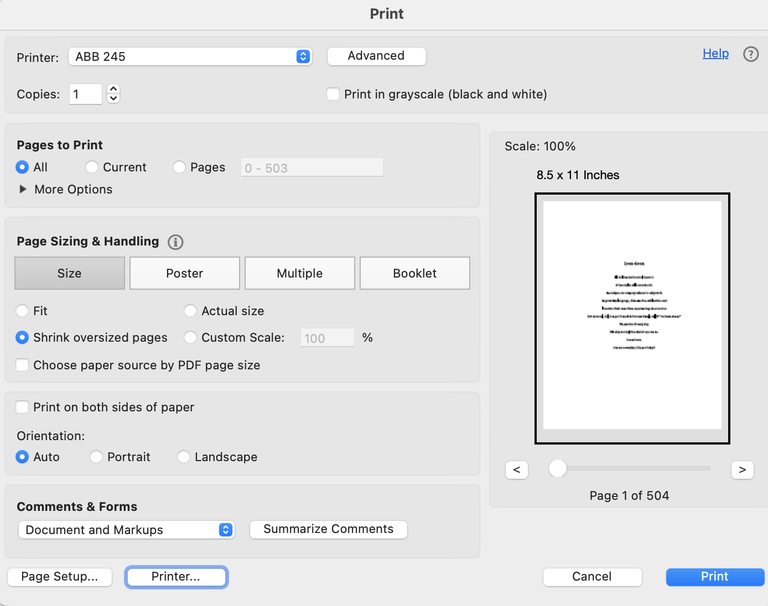
Click on Printer... and then click on Yes if it shows you the following
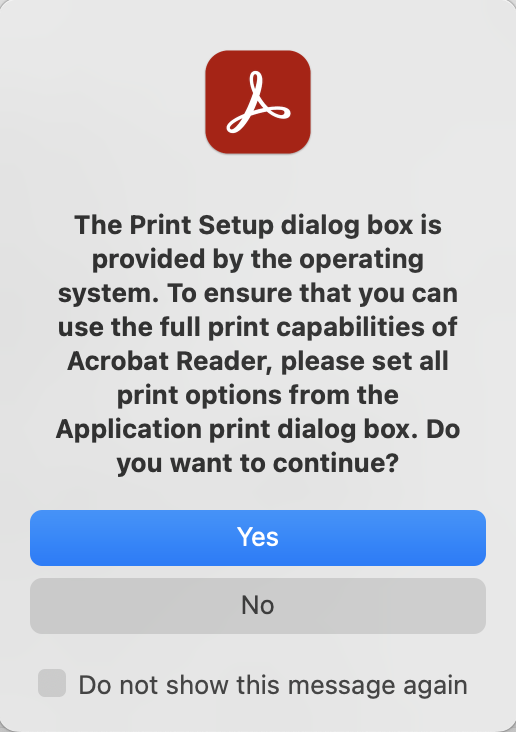
- From the Layout dropdown list, select Xerox Features
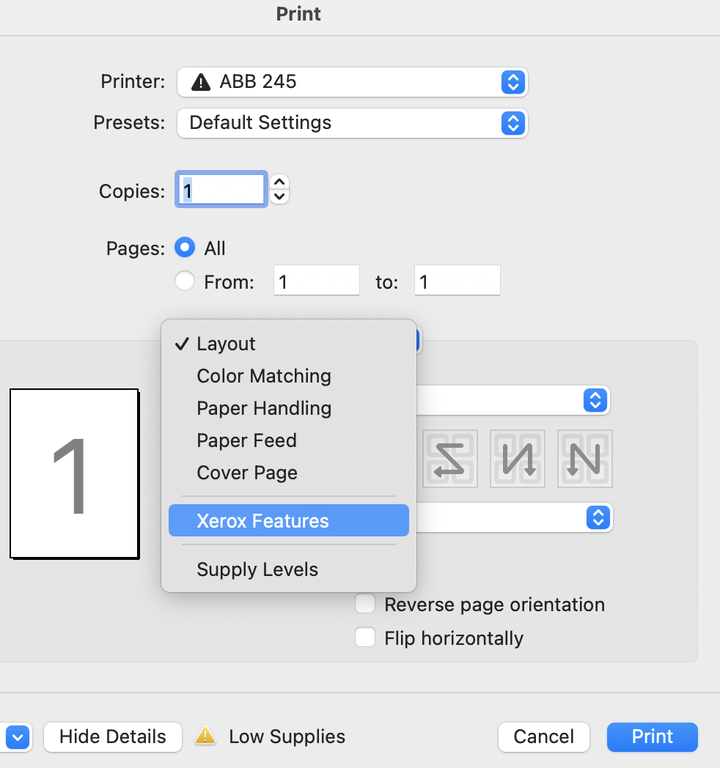
- Under the Paper/Output dropdown, select Advanced
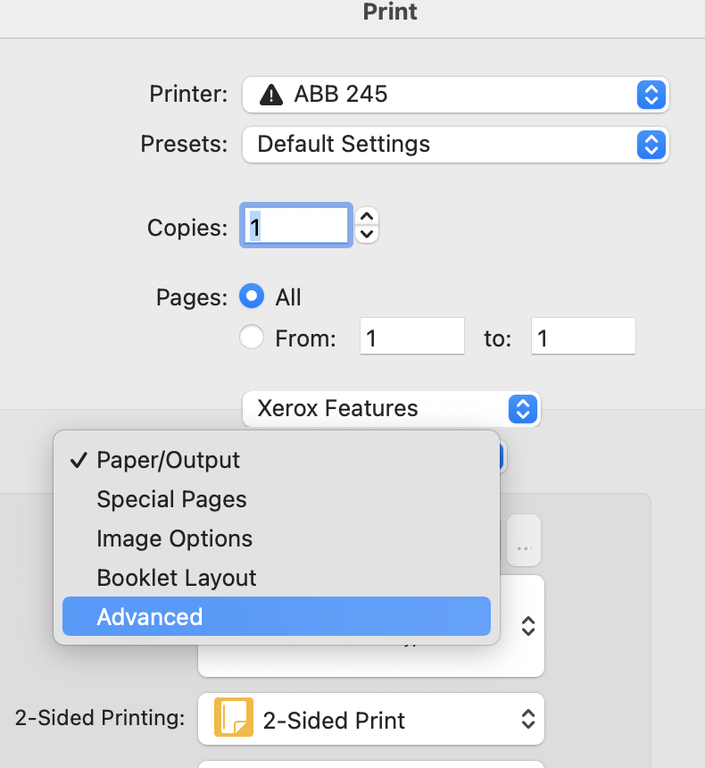
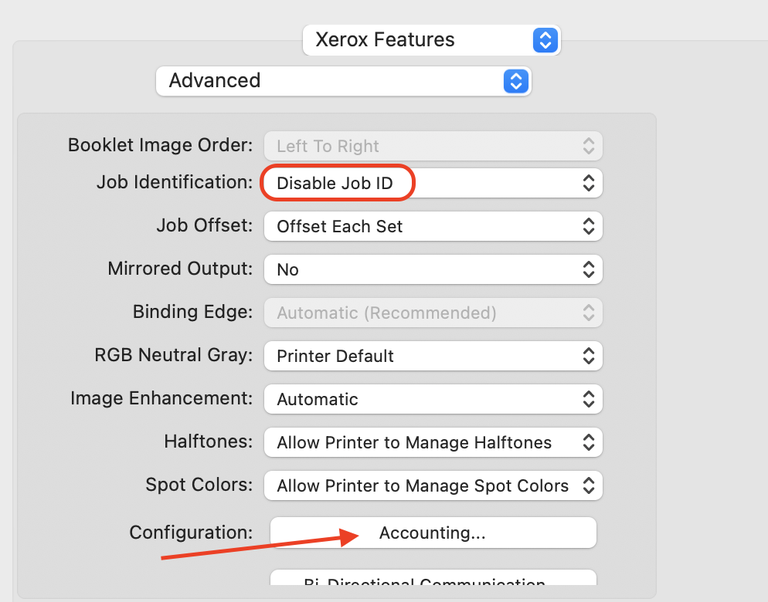
- Make sure to disable Job Identification, and then click Accounting...
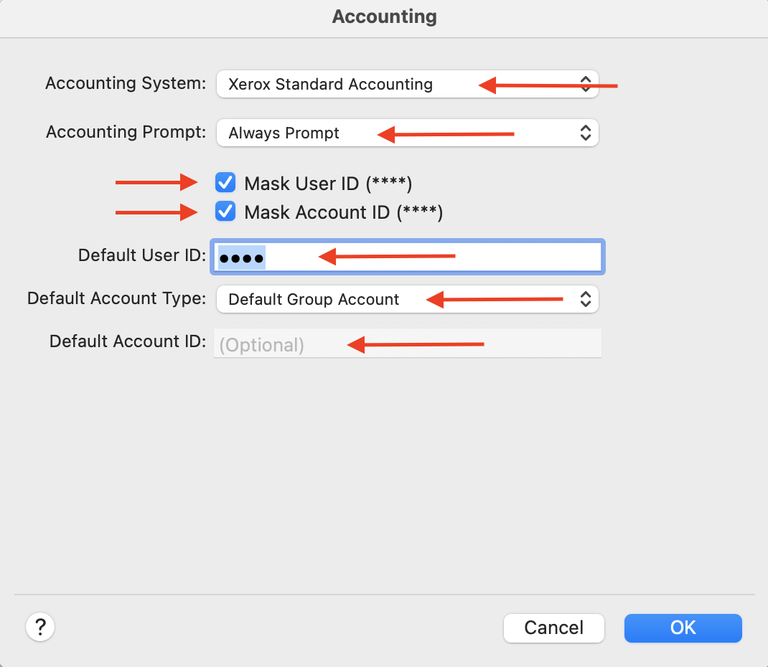
- In the Accounting dialog window, configure it as in the following screenshot; use your own Accounting Code as the Default User ID.
- Save these settings as a preset, type a desired name, and click OK
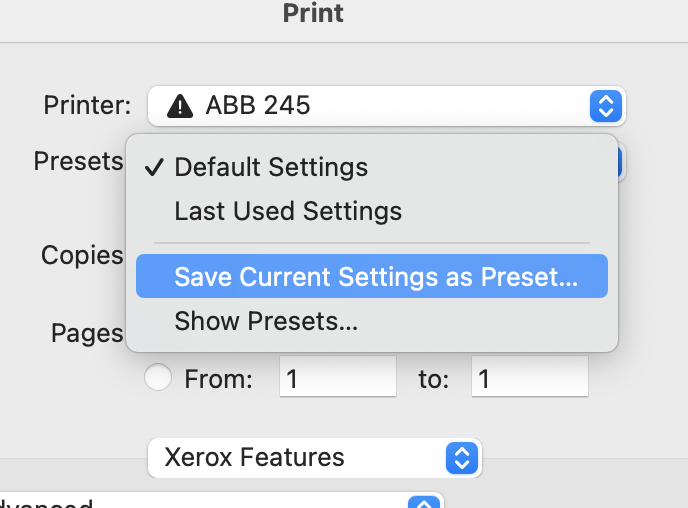
- Next time you use this printer via this application, please remember to use your new preset!
Linux instructions
Driver packages for Linux are provided by Xerox in their official website:
